Creating blog site using GitHub Pages and Jekyll.
This post talks about some places I stumbled upon when creating this blog site using GitHub Pages and Jekyll.
This is not a complete guide to set up Jekyll. References about that are the following:
- Jekyll’s Quickstart
- Jekyll’s Community Tutorials
- Minimal Mistakes theme’s Quick-Start Guide
- GitHub’s Guide
Ruby installation
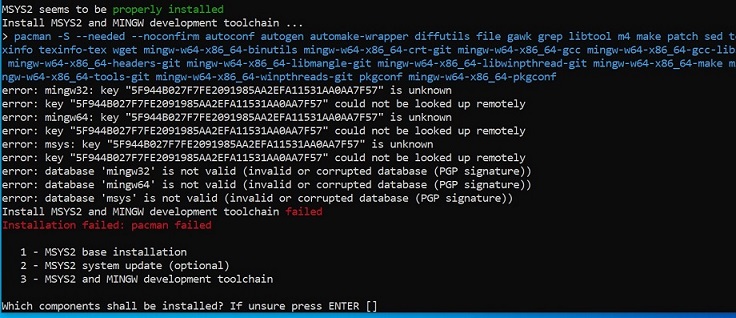
I faced an issue when I was installing Ruby on Windows. I downloaded the latest Ruby installer without DevKit, and started the installation. When I was at “ridk install” step to set up MSYS2 and development toolchain, as shown in the figure below, I pressed Enter to do action 1 and action 3.

Then I encountered the errors like: “key XXXX is unknown” and “invalid or corrupted database”, as shown in the figure below.

I found that I need to download and use the Ruby installer “with” DevKit, and check the “MSYS2 and development toolchain” when I select the components to install. With that, the installation and the toolchain setup were successful.
Watch out! To uninstall Ruby and MSYS2 in case you encounter issues, use Windows’ “Add or remove programs” and make sure that the Ruby and MSYS2 folders are removed.
Using Minimal Mistakes theme on GitHub Pages
I did not pay attention to the “Remote theme method” section at Minimal Mistakes theme’s Quick-Start Guide. As it turned out, I cannot use the default “theme” method since Minimal Mistakes theme is not inbox-supported by GitHub Pages. Make sure that you use the “remote theme” if you use a Jekyll theme that is not inbox-supported by GitHub Pages.
Setting up Google Search Console and Bing Webmaster Tools
Once the blog is created and is up on GitHub Pages, I want it to be searchable at Google and Bing. Minimal Mistakes theme’s Configuration and this post describe the steps. The jekyll-sitemap describes how to generate the sitemap file locally.
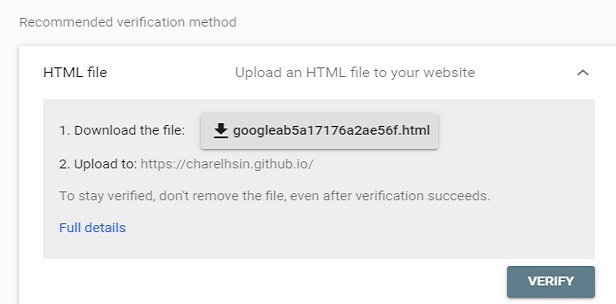
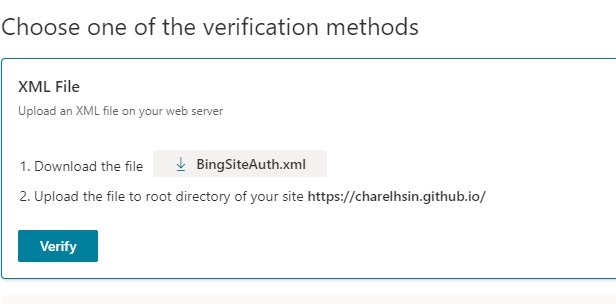
For my case, downloading the verification HTML file and hosting it on my site’s root worked well for me. I downloaded Google’s and Bing’s files, put them at my site’s root folder, and then pushed it to my GitHub Pages’ repository. After I successfully viewed those files at my site URL on a web browser, I went back to click “Verify” button at Google Search Console and at Bing Webmaster Tools.


Then I followed the posts above to get my sitemap file created, and added my sitemap file to Google Search Console and Bing Webmaster Tools.
- For Google, the sitemap file was submitted on Nov 19, and the checking was done on Nov 25. Before the checking was done, “Couldn’t fetch” appeared at Status field as shown in the figure below showed up.
- For Bing, the sitemap file was submitted on Nov 21, and the checking was done on Nov 21.

Even if the sitemap checking is done, it does not mean that the site is indexed yet at Google or Bing.
- For Google, I used “URL Inspection” at Google Search Console and found that my site were not indexed yet on Nov 30. The indexing was done on Dec 1. So the total time from adding the site to being searchable is 12 to 13 days.
- For Bing, I used “URL Inspection” at Bing Webmaster Tools and found that my site were not indexed yet on Nov 21. The indexing was done on Nov 22. So the total time from adding the site to being searchable is 1 to 2 days.